Table Of Contents
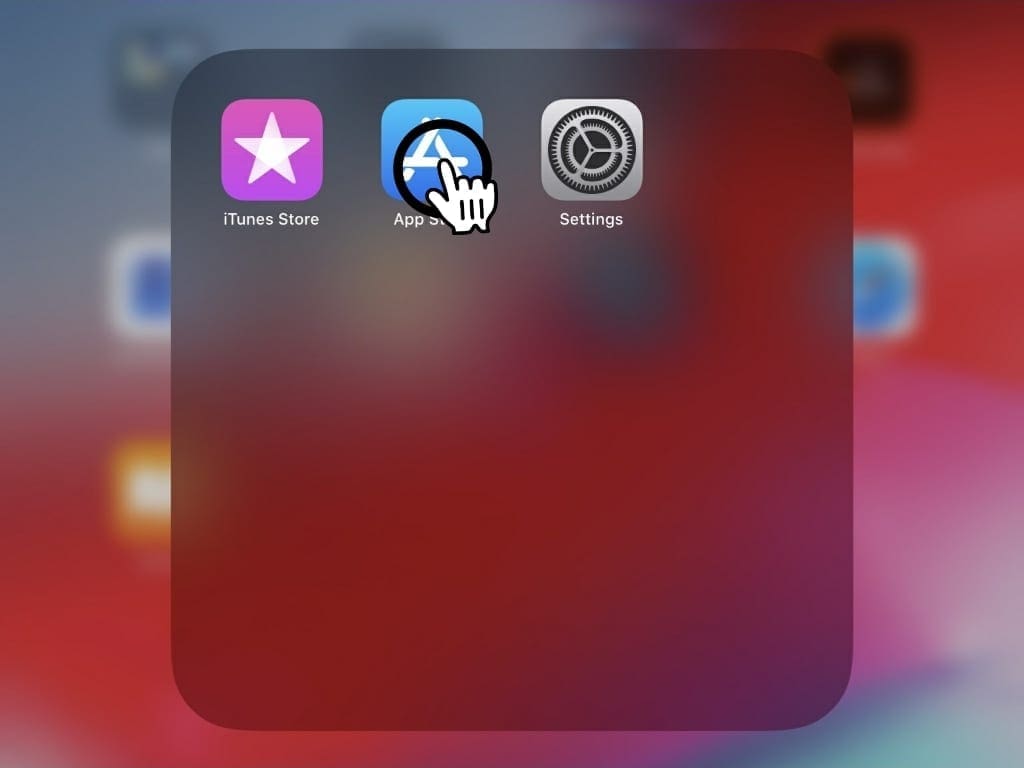
Step 1: Launch The App Store
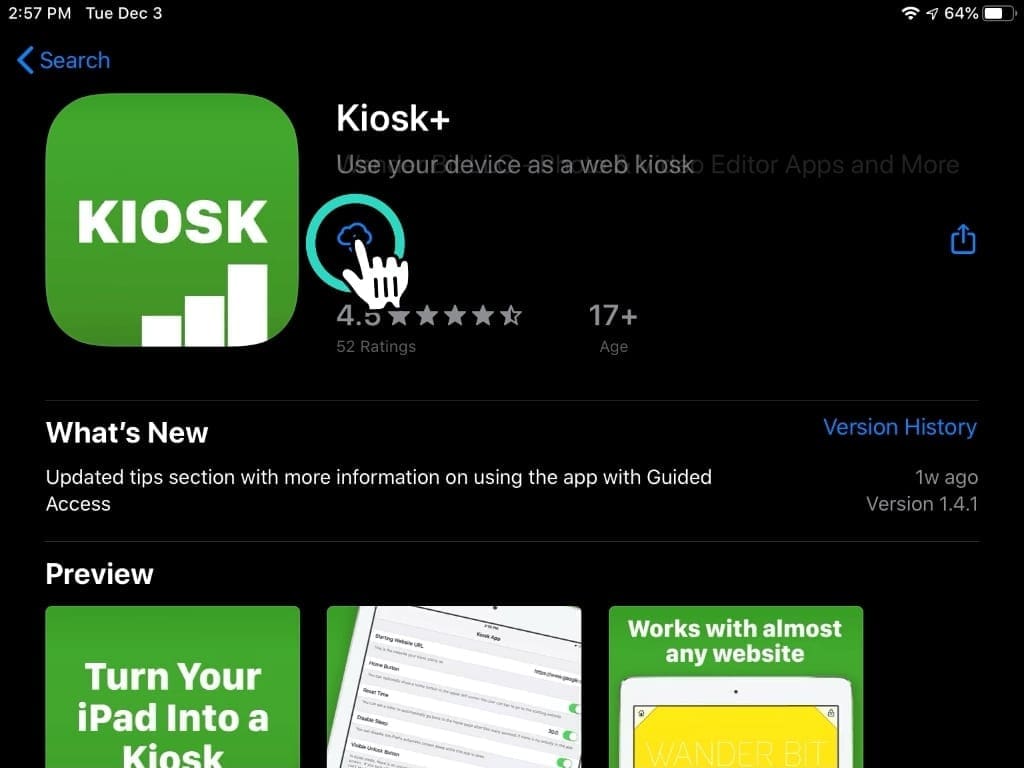
Step 2: Install Kiosk+ Application
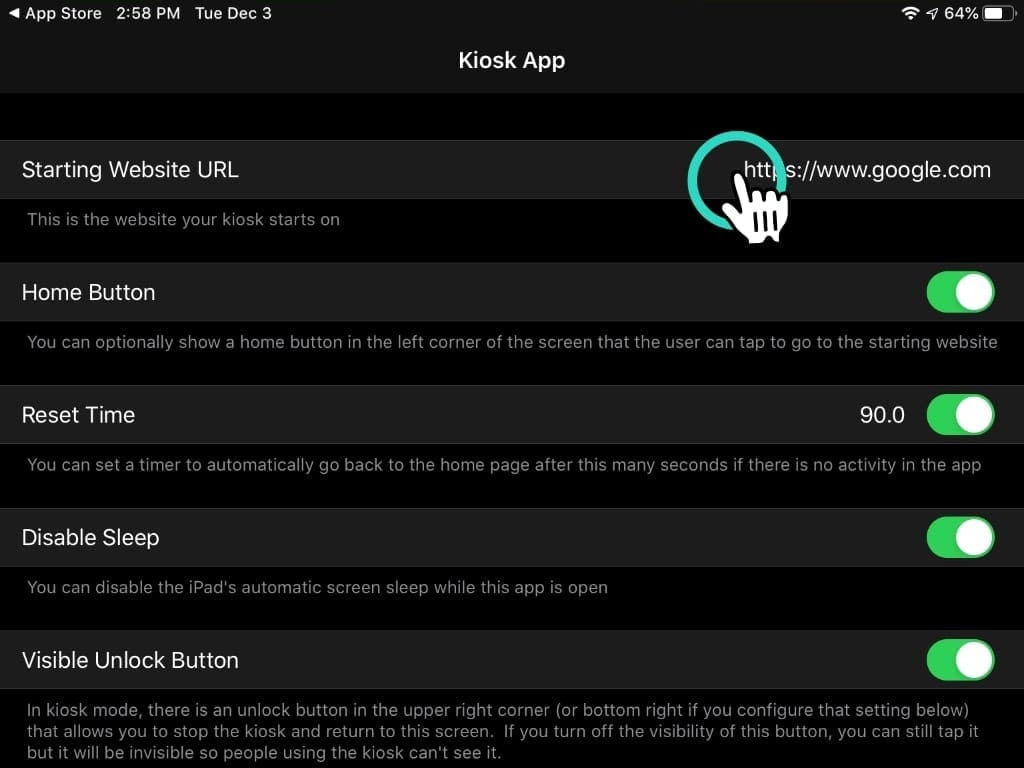
Step 3: Add Your Review Kiosk Link
- Start by copying your unique review kiosk link from the review kiosk setup email you received.
- Next, paste your unique review link in the Kiosk+ app settings under "Starting Website URL".
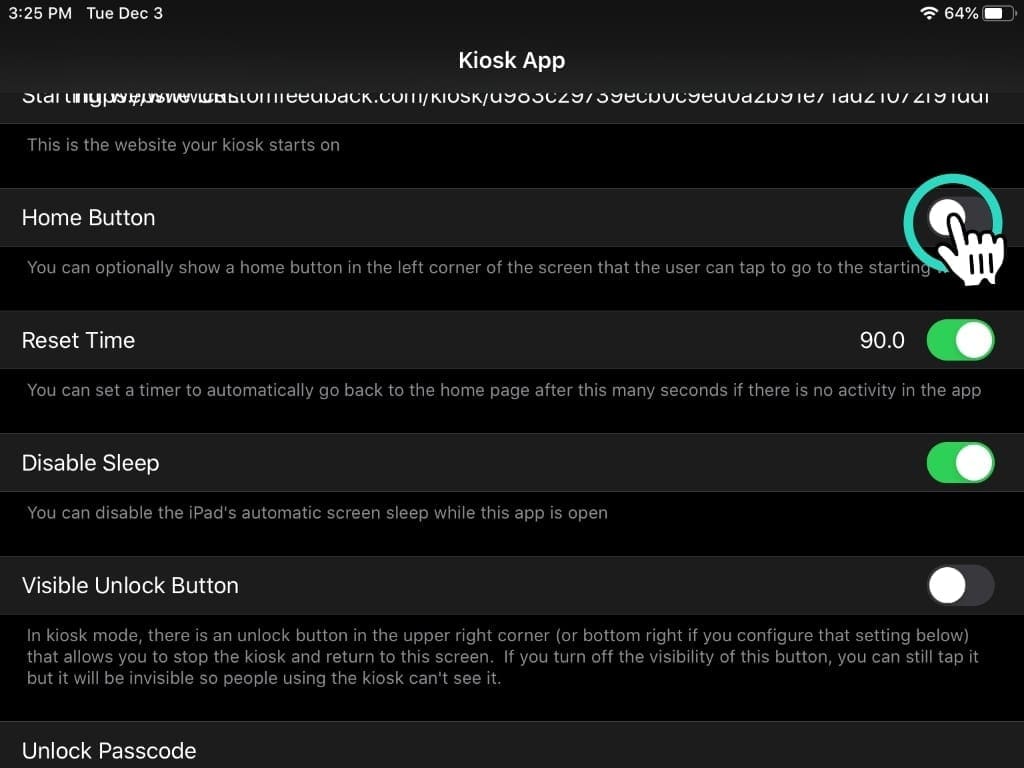
Step 4: Configure Your Kiosk+ App Settings
- Start by turning off "Home Button."
- Next, turn off the "Visible Unlock Button."
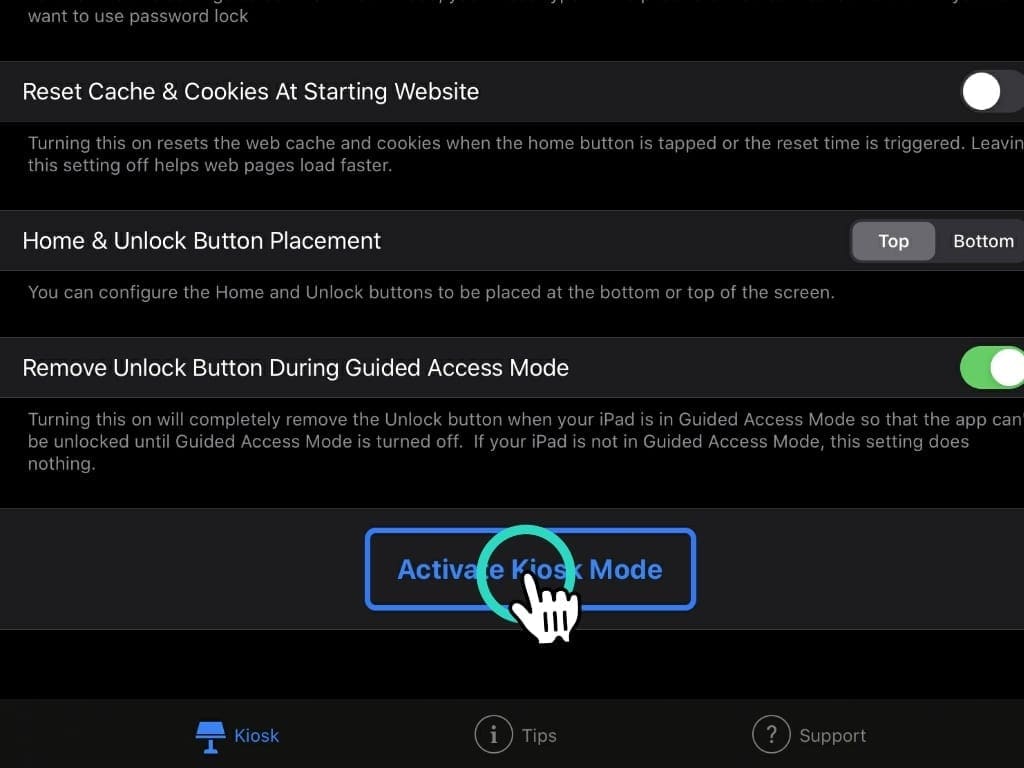
Step 5: Activate Your Kiosk
Step 6: How To Return To Settings
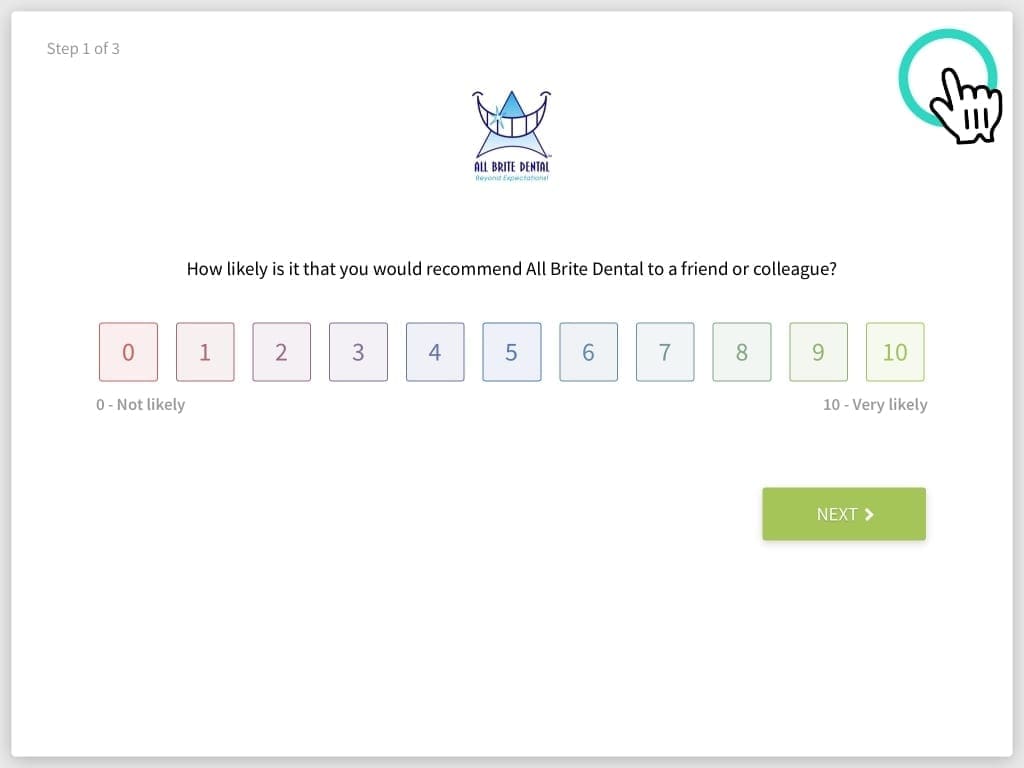
- Click The Top Right Corner To Return To Settings: If you ever need to return to the settings page on your Kiosk+ app simply click the top right corner of the page (we hid a return button up there for you)
Feedback Request Flow & Follow-Ups
Now that your dental kiosk is set up you can ask your patients to provide feedback on how their visit went on check out. Here's how it works:
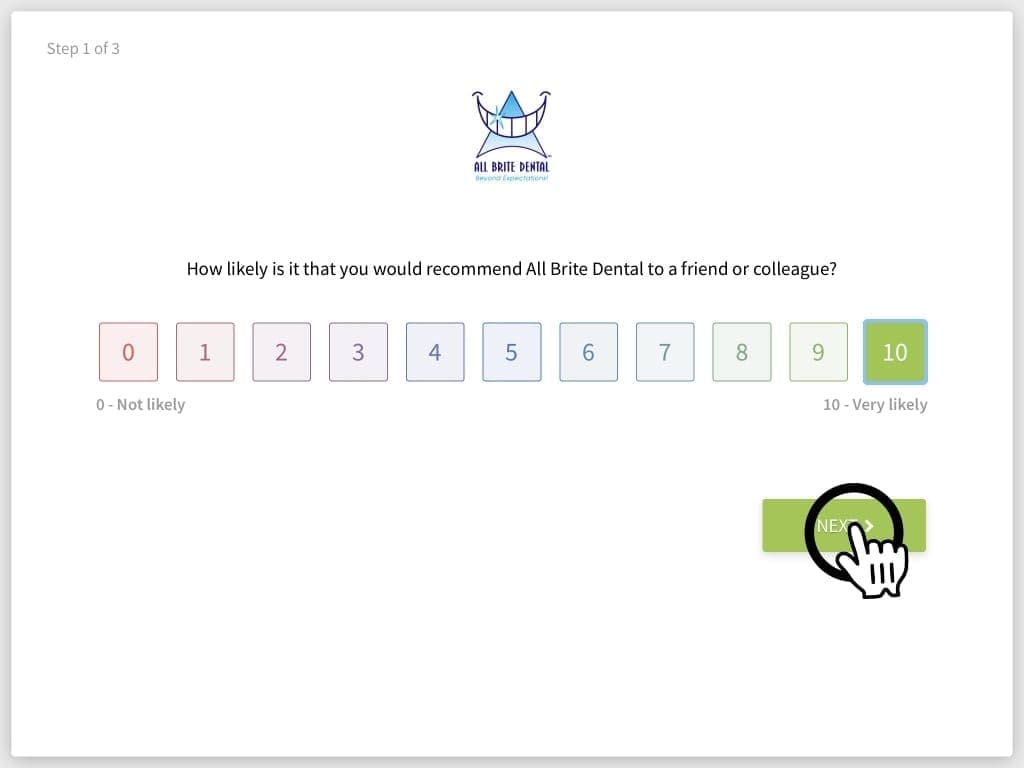
Step 1: Rate Your Experience
We suggest presenting your kiosk after a patient's visit is finished or while they are checking out.
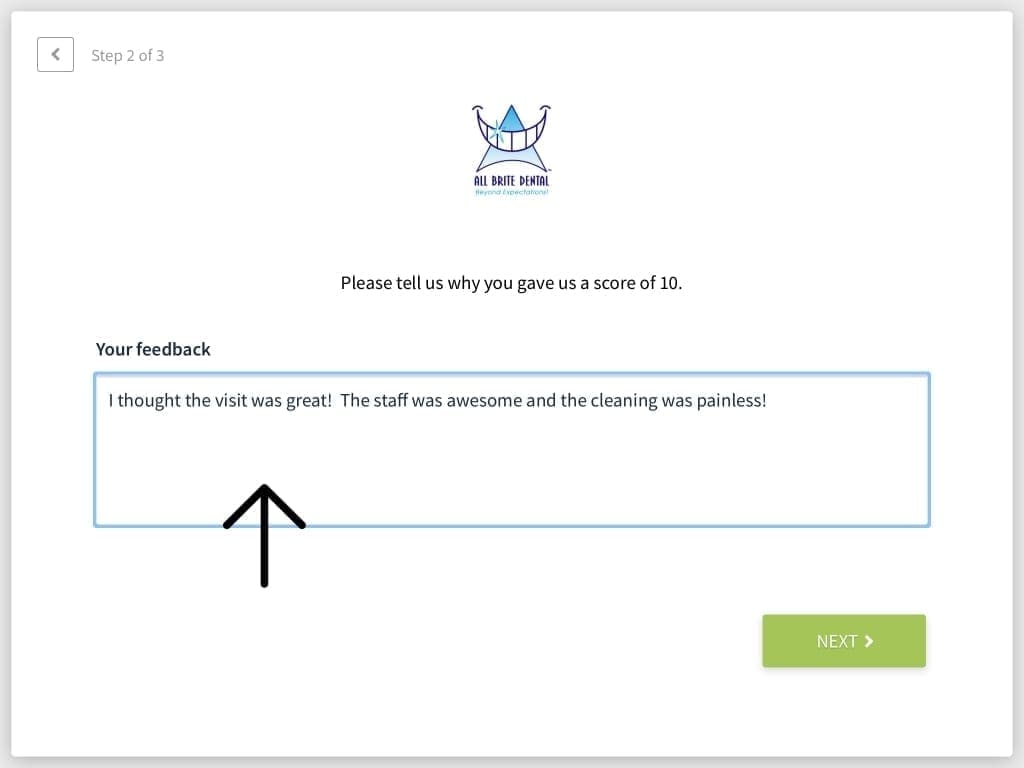
Step 2: Provide Written Feedback
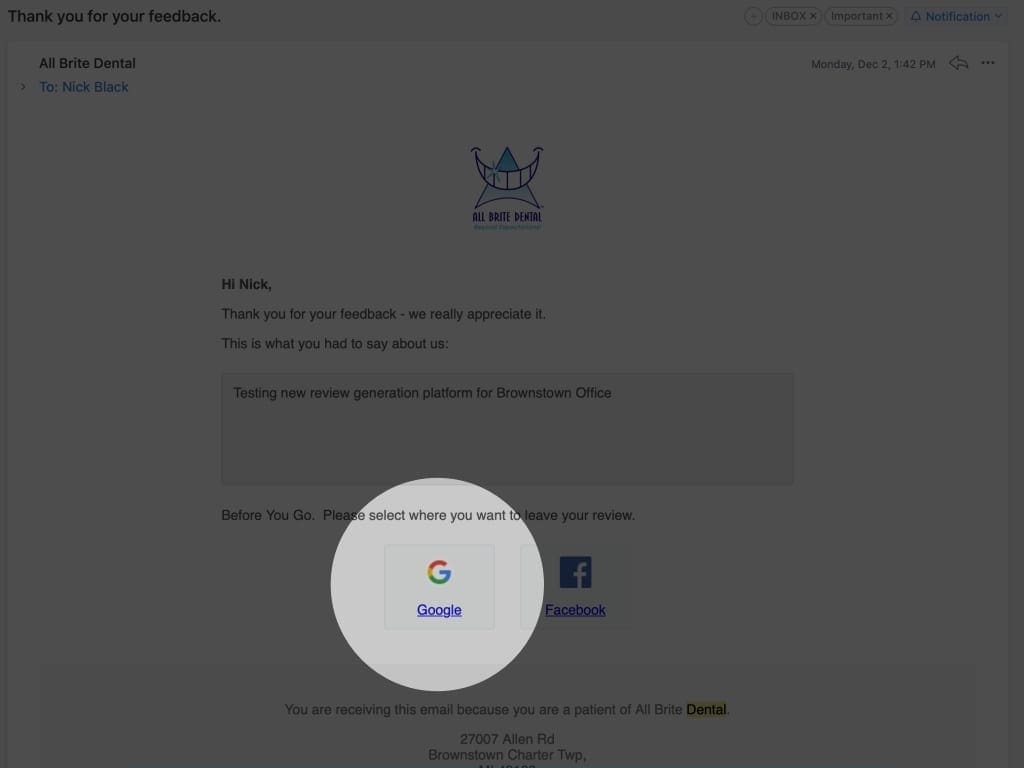
Note - This text will be sent to patients who left a positive score (8+) via email with a direct link to copy and paste their review into Google, Facebook, or Yelp.
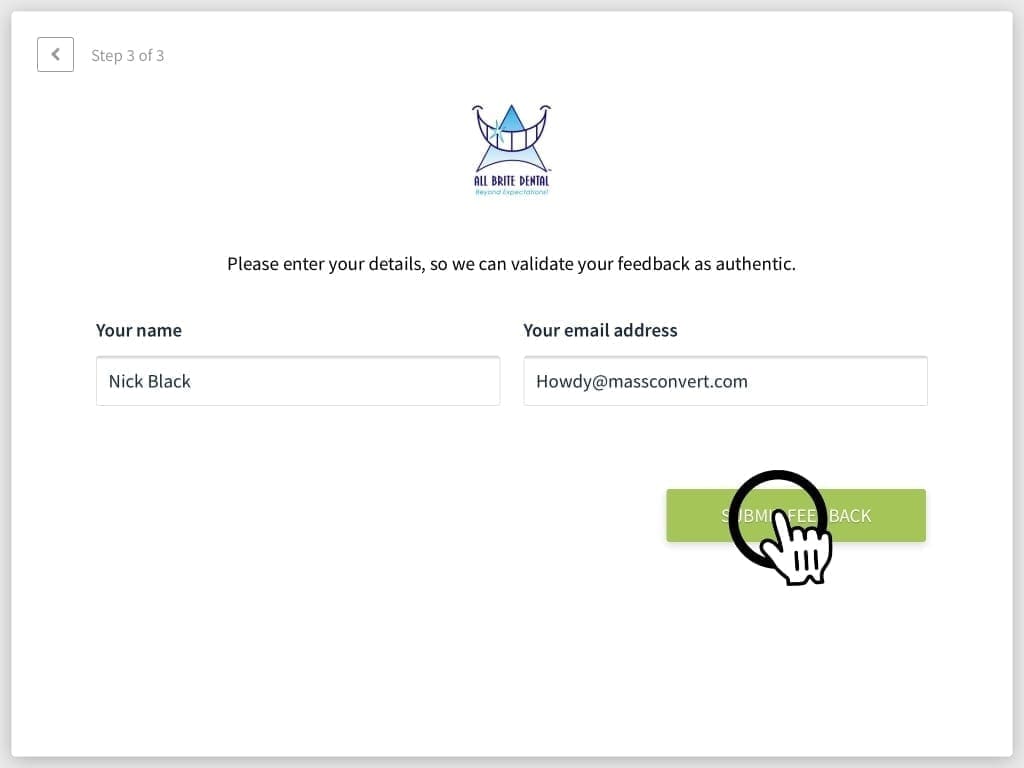
Step 3: Enter Your Details
This allows us to automatically follow up and request reviews from patients who had a positive experience.
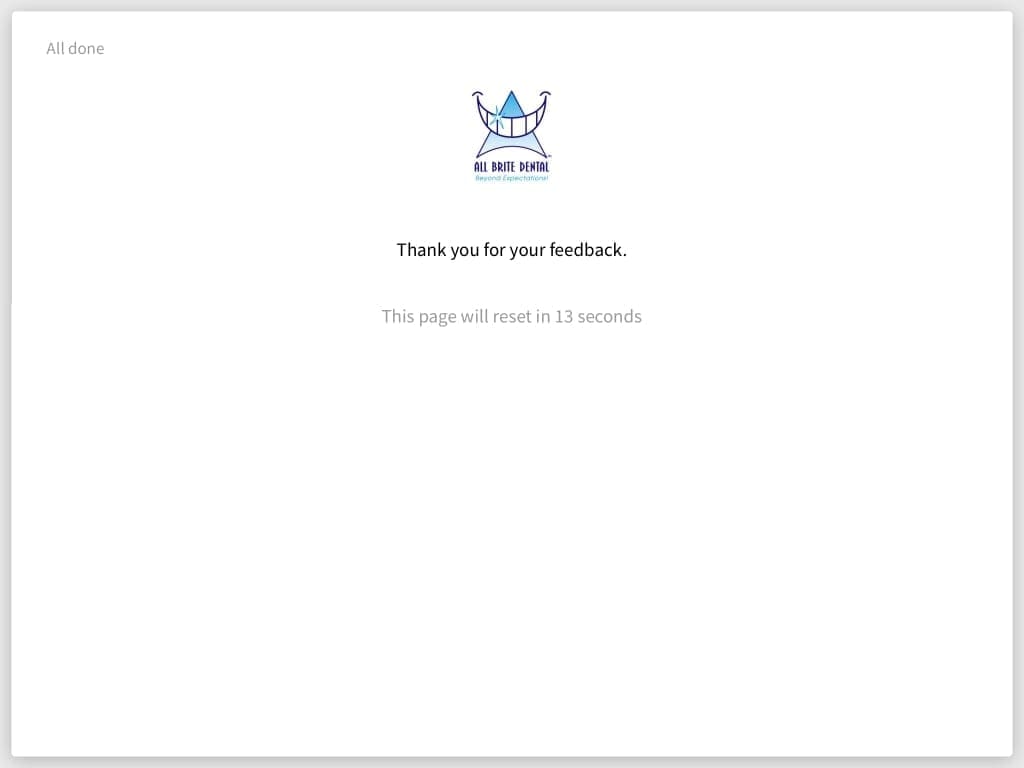
Step 4: Thank The Patient & Request A Review
Now all you have to do is thank the patient and remind them to check their email to submit their review to your preferred review site.
Note - Practices that ask patients to leave a review after they use the Kiosk are 80% more likely to receive a new review.
Step 5: That's It! We Take Care Of The Rest.
Patients that left a positive feedback (8/10 or better) receive an email that easily lets them copy their feedback text and paste it into your preferred review site.
Greetings Earthling!
Ready to join our list of happy clients and grow your business? Request your free proposal now!
Agency
What We Do
Case Studies
Contact Us
Careers
Blog
Pay-Per-Click
PPC Agency
PPC Management
Google Ads Management
Facebook Ads Agency
SEM Agency
Search Optimization
SEO Agency
SEO Company
Backlink Service
Local SEO Services
White Hat SEO Agency
Web Design
Landing Page Design
Website Design Company
Website Development Company
WordPress Development Company

Austin Texas
MassConvert
1834 E Oltorf St., Suite B,
Austin, TX 78741
(512) 842-6155

